 POINT DIÈSE
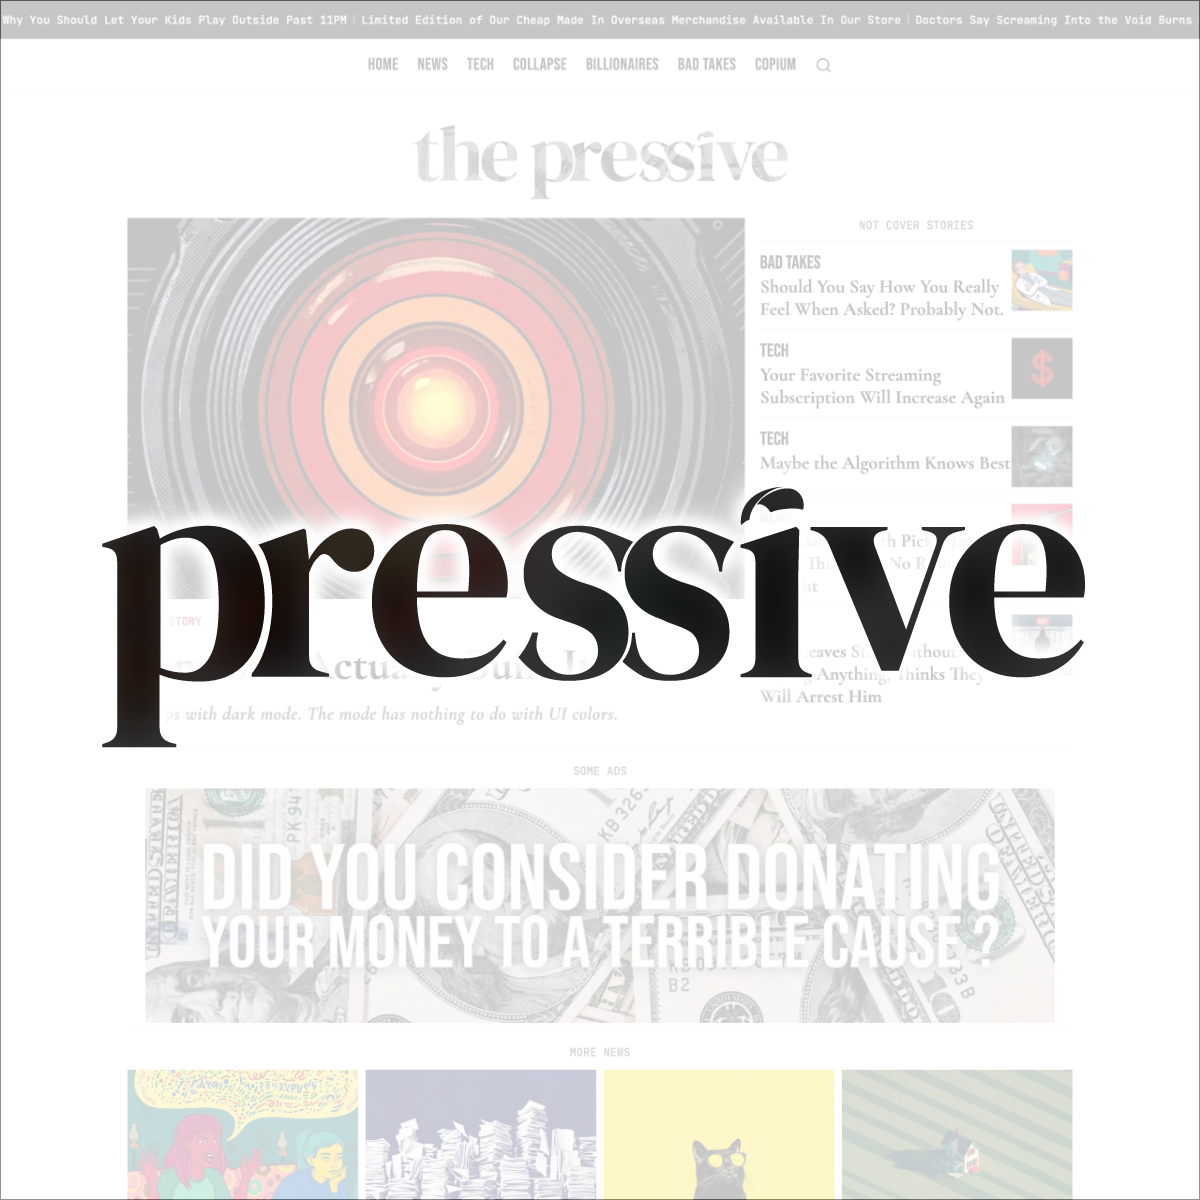
A premium starter kit for satirical news and magazine publications built on Statamic 6. Ship your publication with a complete editorial system, ads management, full-text search, RSS feeds, and SEO baked in.
Features
- Editorial system — Articles with author, category, city, dek, reading time, and related articles
- Authors — Author profiles with bio, photo, and social links
- Ads — Inline and section ads with optional dates and click-through URL
- Search — Full-text search across title, dek, city, author, and category
- SEO — Canonical, Open Graph, Twitter Card, JSON-LD NewsArticle schema, noindex per entry
- RSS — Global feed + per-category feeds
- Nav — Sticky frosted-glass desktop nav, fullscreen mobile overlay, animated search bar; links combine a customizable main nav with auto-generated category links
- Marquee — Scrolling headlines bar (toggleable)
- Share buttons — Facebook, X, Bluesky, Threads, WhatsApp, LinkedIn (each toggleable)
- Pagination — Home, category, and author pages
- Reading progress bar — On article pages only
- Sitemap & robots.txt — Auto-generated
- Images — WebP via Glide image optimization
- Configurable globals — Logo, favicon, accent color, social links, footer tagline, and more — all from the Control Panel
Requirements
- PHP 8.3+
- Composer
- Node.js 18+
- A Statamic license (Solo works for a single free site)
Installation
1. Create a new project via the Statamic CLI
statamic new my-publication pointdiese/starter-kit-pressive2. Install front-end dependencies and build assets
npm installnpm run build3. Configure your environment
cp .env.example .envphp artisan key:generateAt minimum, set:
APP_URL=https://your-domain.comAPP_NAME="Your Publication Name"4. Create your first user
php please make:userFollow the prompts — make the user a super admin when asked.
5. Build the search index
php please search:update6. Log into the Control Panel
Visit /cp and sign in. You're ready to go.
Initial Configuration
Once in the CP, head to Globals → Site Settings to configure your publication:
| Setting | Description |
|---|---|
| Logo | Upload your logo (SVG or image) |
| Accent color | Primary brand color used throughout the site |
| Site description | Used in meta tags |
| Logo max width | Control logo size in the nav |
| Masthead rules | Toggle decorative horizontal rules in the masthead |
Footer
| Setting | Description |
|---|---|
| Footer tagline | Tagline displayed above the footer nav |
| Copyright text | Displayed at the bottom of the footer |
| Social links | X, Bluesky, Facebook, Instagram, YouTube, Threads |
Marquee
| Setting | Description |
|---|---|
| Marquee toggle | Show or hide the scrolling headlines bar |
| Marquee headlines | List of headlines to display |
Share buttons
Toggle each platform individually: Facebook, X, Bluesky, Threads, WhatsApp, LinkedIn.
Progress bar
Toggle the reading progress bar and choose its color (appears on article pages only).
Demo Content
The kit ships with demo content to help you get started:
- 30 articles across 6 categories
- 5 author profiles
- 2 ad banners
To remove demo content, delete the entries from the CP or from the content/ directory.
Customization
Typography
All fonts are self-hosted (no Google Fonts — GDPR-friendly out of the box). Font files live in public/fonts/, declared in resources/css/fonts.css. The kit uses:
- Bebas Neue — Display headings
- Cormorant Garamond — Serif body
- Switzer — Sans-serif UI
- JetBrains Mono — Monospace
To swap a font, replace the files in public/fonts/, update the @font-face declarations in resources/css/fonts.css, and update the corresponding CSS variable in resources/css/site.css.
Favicon
Replace the files in public/ to use your own favicon:
favicon.svg— primary (all modern browsers)favicon-32x32.png+favicon-16x16.png— PNG fallbacksapple-touch-icon.png— iOS home screen (180×180px)favicon.ico— legacy browsers
Colors & Tailwind
The kit uses Tailwind CSS 4 with CSS custom properties. Global styles live in resources/css/site.css. The accent color is set from the CP globals and injected as a CSS variable — no code changes needed.
Categories
Categories are a taxonomy stored in content/taxonomies/categories/. Each category has a nav_order field that controls its position in the navigation.
The nav combines two sources in order:
- Custom links — defined in CP → Navigation → Main Nav (pages, external links, etc.)
- Category links — auto-generated from the categories taxonomy, sorted by
nav_order
A category with nav_order set to 0 (or left empty) is excluded from the nav entirely. Set it to any positive integer to include it — lower numbers appear first.
To add a category: go to CP → Taxonomies → Categories → New, set the title, slug, and nav_order.
Contact Form
The kit includes a contact form at /contact. Submissions are stored in the CP under Forms → Contact by default — no email configuration required to get started.
To also receive submissions by email, add a notification to resources/forms/contact.yaml:
title: Contactemail: - subject: 'New contact form submission'Then configure your mailer in .env:
MAIL_MAILER=smtpMAIL_HOST=your-smtp-hostMAIL_PORT=587MAIL_USERNAME=your-usernameMAIL_PASSWORD=your-passwordAds
Adding a banner
- Go to CP → Collections → Ads
- Upload your banner image (recommended: 970×250px)
- Fill in the optional Ad URL field for click-through
- Set optional start/end dates to control visibility
Placement
Ads appear automatically:
- Home page — Between content sections (2 slots)
- Article pages — As an inline block within the article content
To add an ad inside an article, edit the article and add an Ad block in the content replicator.
Static Caching
For best performance, enable Statamic's full-page static caching in config/statamic/static_caching.php. Configure your web server to serve cached files directly.
License & Support
This starter kit is a commercial product licensed for use on a single Statamic installation. Redistribution or resale of the kit itself is not permitted.
For issues or questions, open a ticket on the Statamic Marketplace listing page.
Built with Statamic · Laravel · Tailwind CSS · Alpine.js